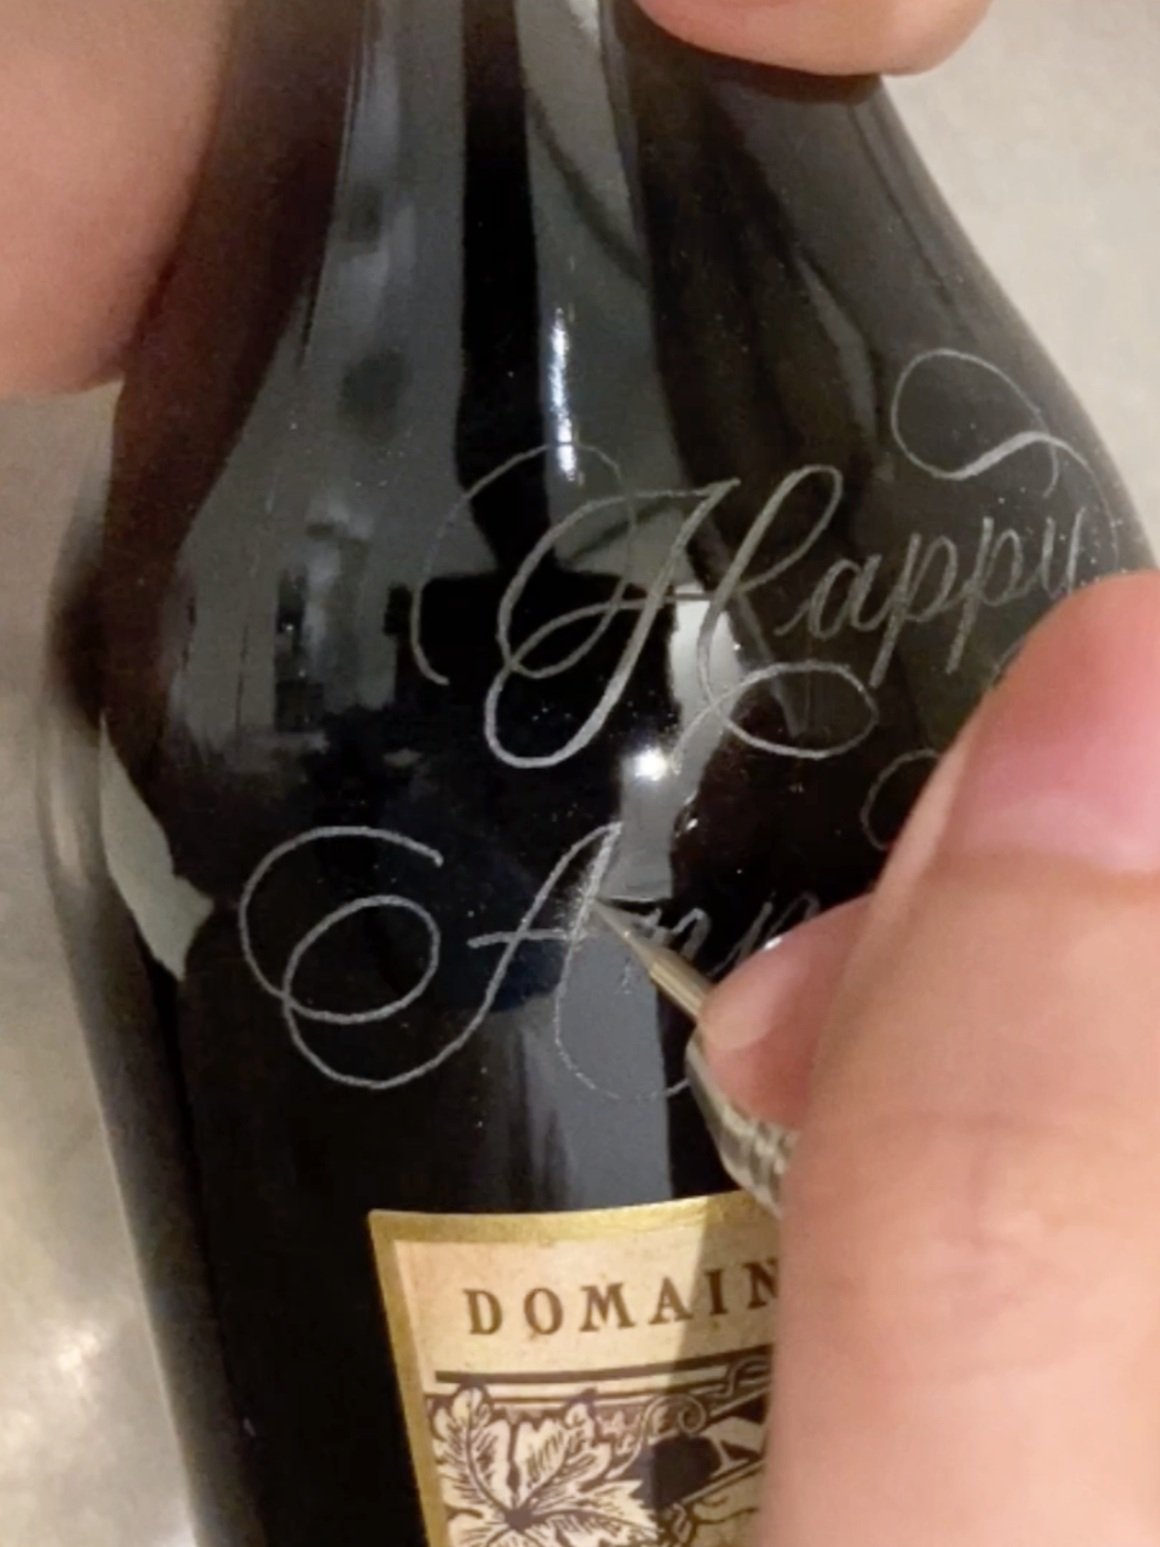
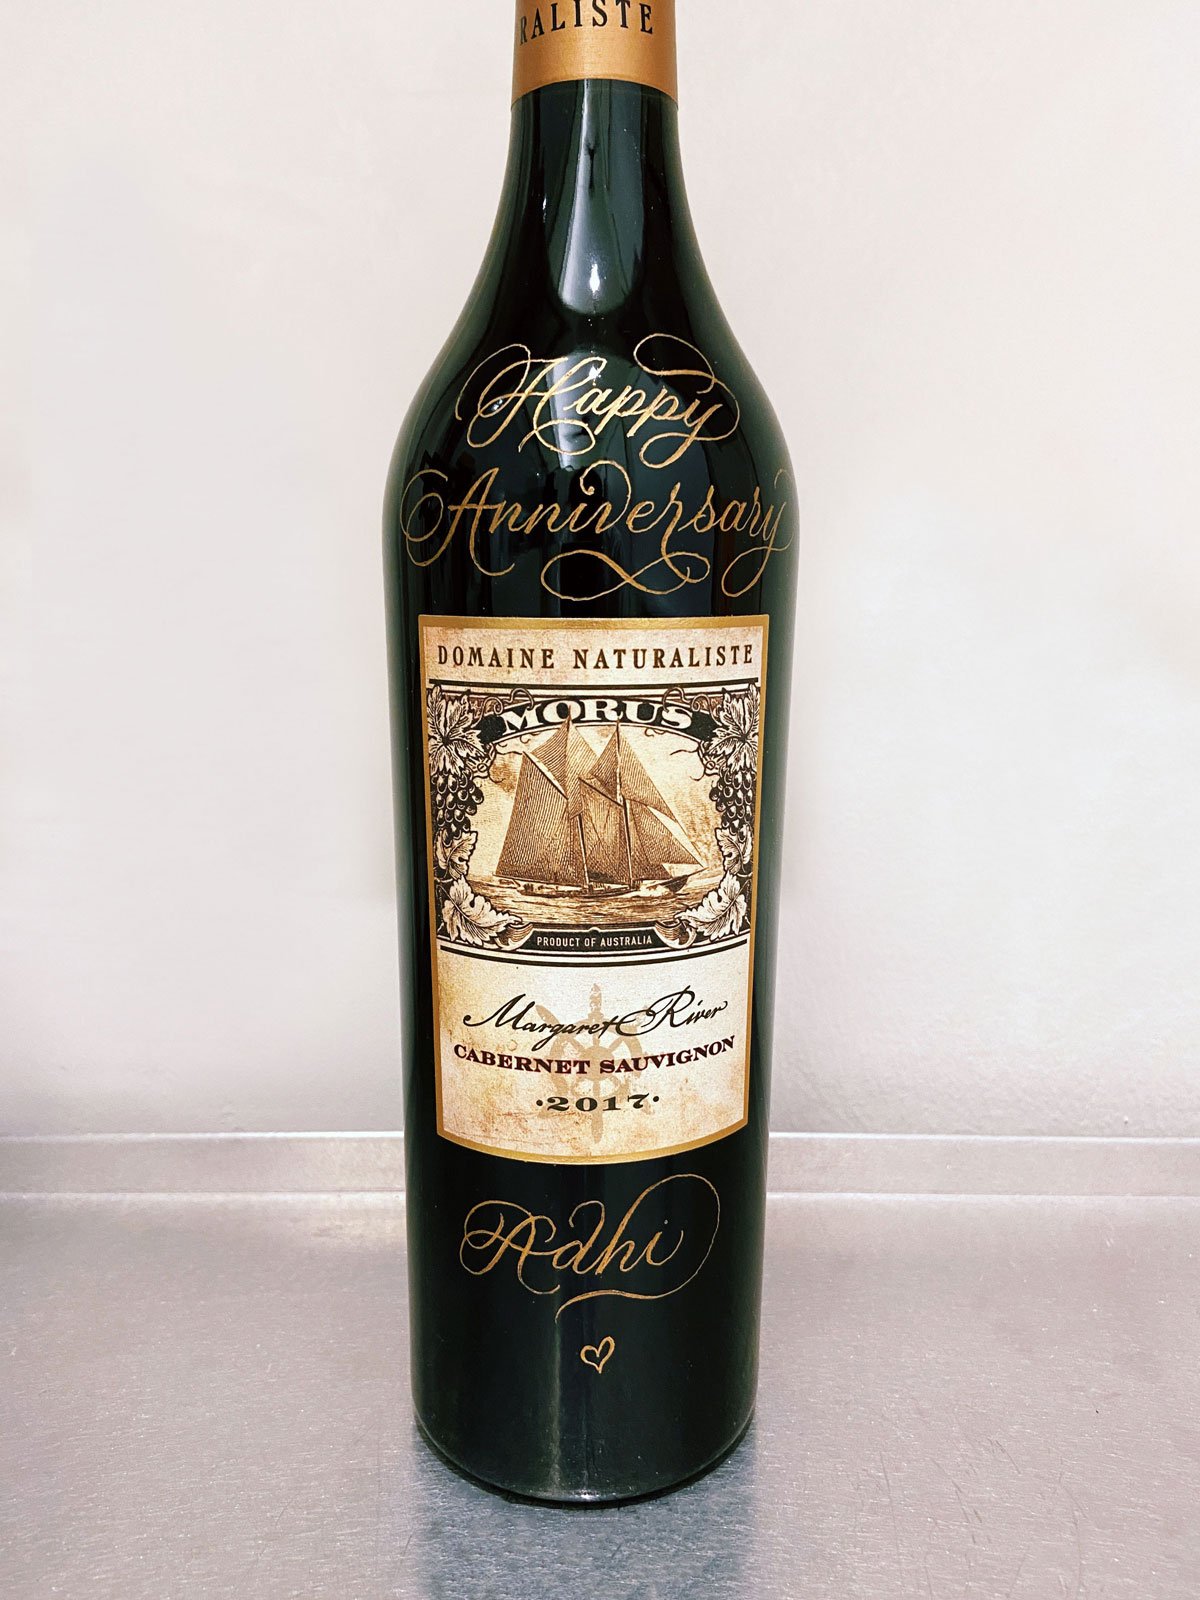
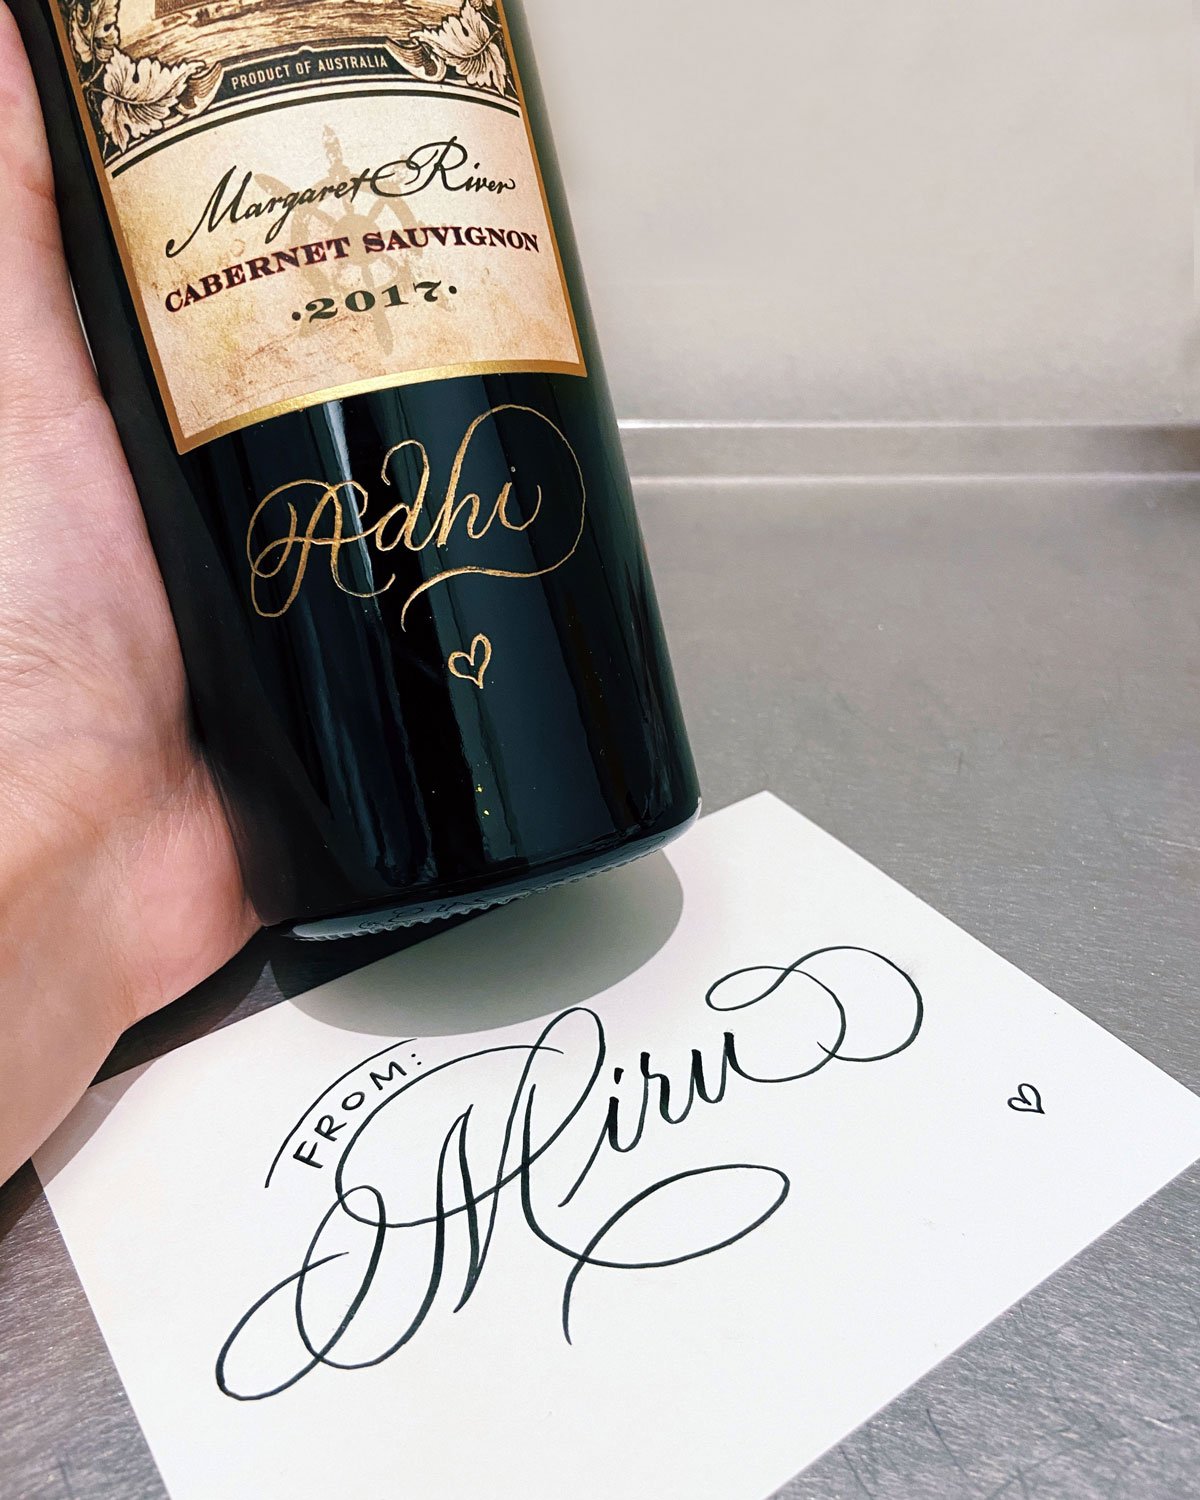
Today I'm going to be sharing about engraving on plastic. If you’re looking for a brushless engraving machine, here’s the link to purchase.
If you have tried it before, you would know that it can be quite a frustrating experience - just because the plastic material is likely to get chewed up along with your engraver as you are doing a single stroke.
So this happens because of one of two things.
Number one: the plastic itself is not suitable for engraving.
If it's a thin material - like, plastic water bottle thin, don't bother. Just skip.
If it's fairly thick and sturdy, then we move on to the next step. Usually, what I would do is I would kind of flick on it to check the sound. You know how you flick on someone's forehead with your middle finger and your thumb like you know that kind of action? I'll do that on the plastic itself. So if I hear a hollow reverb, it's very likely not suitable for engraving. You can get a bunch of different plastics - maybe cosmetics or candle jars whatsoever. Gather a bunch of them and you can tell the difference between what is hollow and what is not!
Or another easier way is just to check the price point. Usually, cheaper products would use cheaper packaging and very likely if it's a cheap piece of plastic, it can't be engraved on.
Moving on to point number two is the actual engraving speed of your engraver. So usually for me, when I engrave on glass or steel metal, I would go 26 rpm and above. But plastics, you want to go with a single-digit number - anywhere 6, 7, 8, 9, maybe 10.
What I would normally do is... I will try it first. I'll put it at 8000 rpm and depending on the actual plastic, the reaction and how it feels - I would either tune-up or tune down.
The last pro tip is your actual engraving speed. Not the machine but the actual writing speed of your hand. Even if your number is set you know maybe at 8 rpm but your actual writing is really fast, it will not show well so you want to go really slow. Really, really slow. Let the drill do the work, don't press too hard as well. Just go slow, have a lot of patience, like let the magic appear slow and steady. Don't rush it. If not - if you rush it you can really tell like in the lines, it will be really jagged. So it'll be rigid, jagged, and rough on the edges and we do not want that!
So that's all for today's tutorial. I hope you enjoyed it. If you have any questions, just let me know.
P.S. If you’re looking to start your calligraphy journey or improve your current skills, feel free to check out my online calligraphy course here!


