Have you ever stood at the stationery aisle and don't know which pen to buy?! Either that or... do you wish you could buy alllll of em?
Now let's take a step back to understand our tools first so we're more clear on what we're actually buying and what these tools can do for us.
Commonly, there are 5 categories of tools you may use for calligraphy:
Brush pens
Water brush or aqua brush
Round brush
Fountain pens
Dip pens or pointed pens
You may have heard of some or all of these before, and while they all can achieve similar results, these tools are not the same! When done right, you can also produce really creative results with each different tool as well.
1. Brush Pens
These are my ABSOLUTE FAVS! If you've ever watched any of my calligraphy videos before on socials, you'd know that 90% of my videos are done using brush pens.
Why?
Simply because these are the easiest tool to use. It's fuss-free because I don't have to deal with any ink dipping or spillage. It's beginner-friendly, durable and very, very forgivable. The only time I've seen it being broken was... one time, I was teaching a private class for super duper young kids and one of em stab the nib right at the table forcefully.
Gone. Nib disappeared. Vanished. Went incognito.
Yep that was the only time.
Other than that, brush pens are nearly perfect for every and any use. You're also able to write fairly quickly with these!
If you're someone who likes to write fast and have no patience to watch ink dry for hours (aka me), this is perfect for you.
2. Water Brush
Water brushes or aqua brushes are the next level up. I often advise my students to try these after they're really comfortable with brush pens.
Why?
That's because water brushes are a lot softer in nature. You'd find these trickier to control. One stroke with tiny pressure can give you a fairly thick stroke on the paper itself.
Pressure control and mastery's key for this tool!
The plus? Colours!
If you're someone who's looking for a specific colour, it's less likely to be found in brush pens. For example, even a gold colour can have various shades: yellow gold, a more bronzy copper shade gold or even a rose gold.
If that's the case for you, I'd recommend opting for a water brush where you can tailor your colour preferences and custom blend your own ink down to the minute details.
Another plus: with the ink enclosed, there's no need to constantly re-dip ink again and again.
P.S. I use water brushes to create coffee ink calligraphy for a live calligraphy event! Click here for the full case study.
3. Round Brush
Next, round brush! This is similar to water brushes. The only difference here is - for water brushes, it's fairly limited to water-based inks. Trying other types of ink may risk clogging.
If you're in the market for brushes to use with acrylic inks, india inks etc., go for the round brush!
Con: you need to constantly dip the brush in ink whenever ink runs out.
4. Fountain Pens
Moving quickly along, we've fountain pens! These can go way luxe and costs up to the thousands (I know!). But essentially, fountain pens each have a metal nib that allows the ink to flow through, and depending on the pressure applied, you're able to create a variation of stroke widths ie. thin strokes and thick strokes.
Plus: no need for constant re-dipping of ink! All's in the cartridge. Fuss-free!
5. Dip Pens / Pointed Pens
Ah, dip pens. Have you tried this before? Was it frustrating?
If you did, you probably know that dip pens or pointed pens require so. much. patience.
And that's because 1. not only is the tool trickier to control, but 2. after writing a few letters or words, you have to re-dip your pen into ink again.
Sometimes, you may even write a quote, and just when you're about to finish writing, the nib catches on the tooth of the paper...
Boom.
Ink splatter everywhere. Artwork is on its way to heaven.
That's why I often recommend students to try brush pen first, followed by water brushes, then round brushes, and lastly, dip pens. Exactly in this email's order! Because there's a whole set of problems to tackle when it comes to dip pens.
🖋 What if the ink doesn't flow out?
🖋 What if the ink splatters all over my paper?
🖋 What if the ink bleeds through the paper?
🖋 How do I prep my nibs?
This is not to discourage you, but the truth is, you can totally master dip pen calligraphy. It just requires 2 things!
Mastering the skill of calligraphy first
And then, mastering the tool itself.
This provides a gentler learning curve and a happier experience.
If you're tearing your hair out, you're probably doing it wrong!
Bonus: Apple Pencil
A quick lil bonus for funsies: Apple pencil.
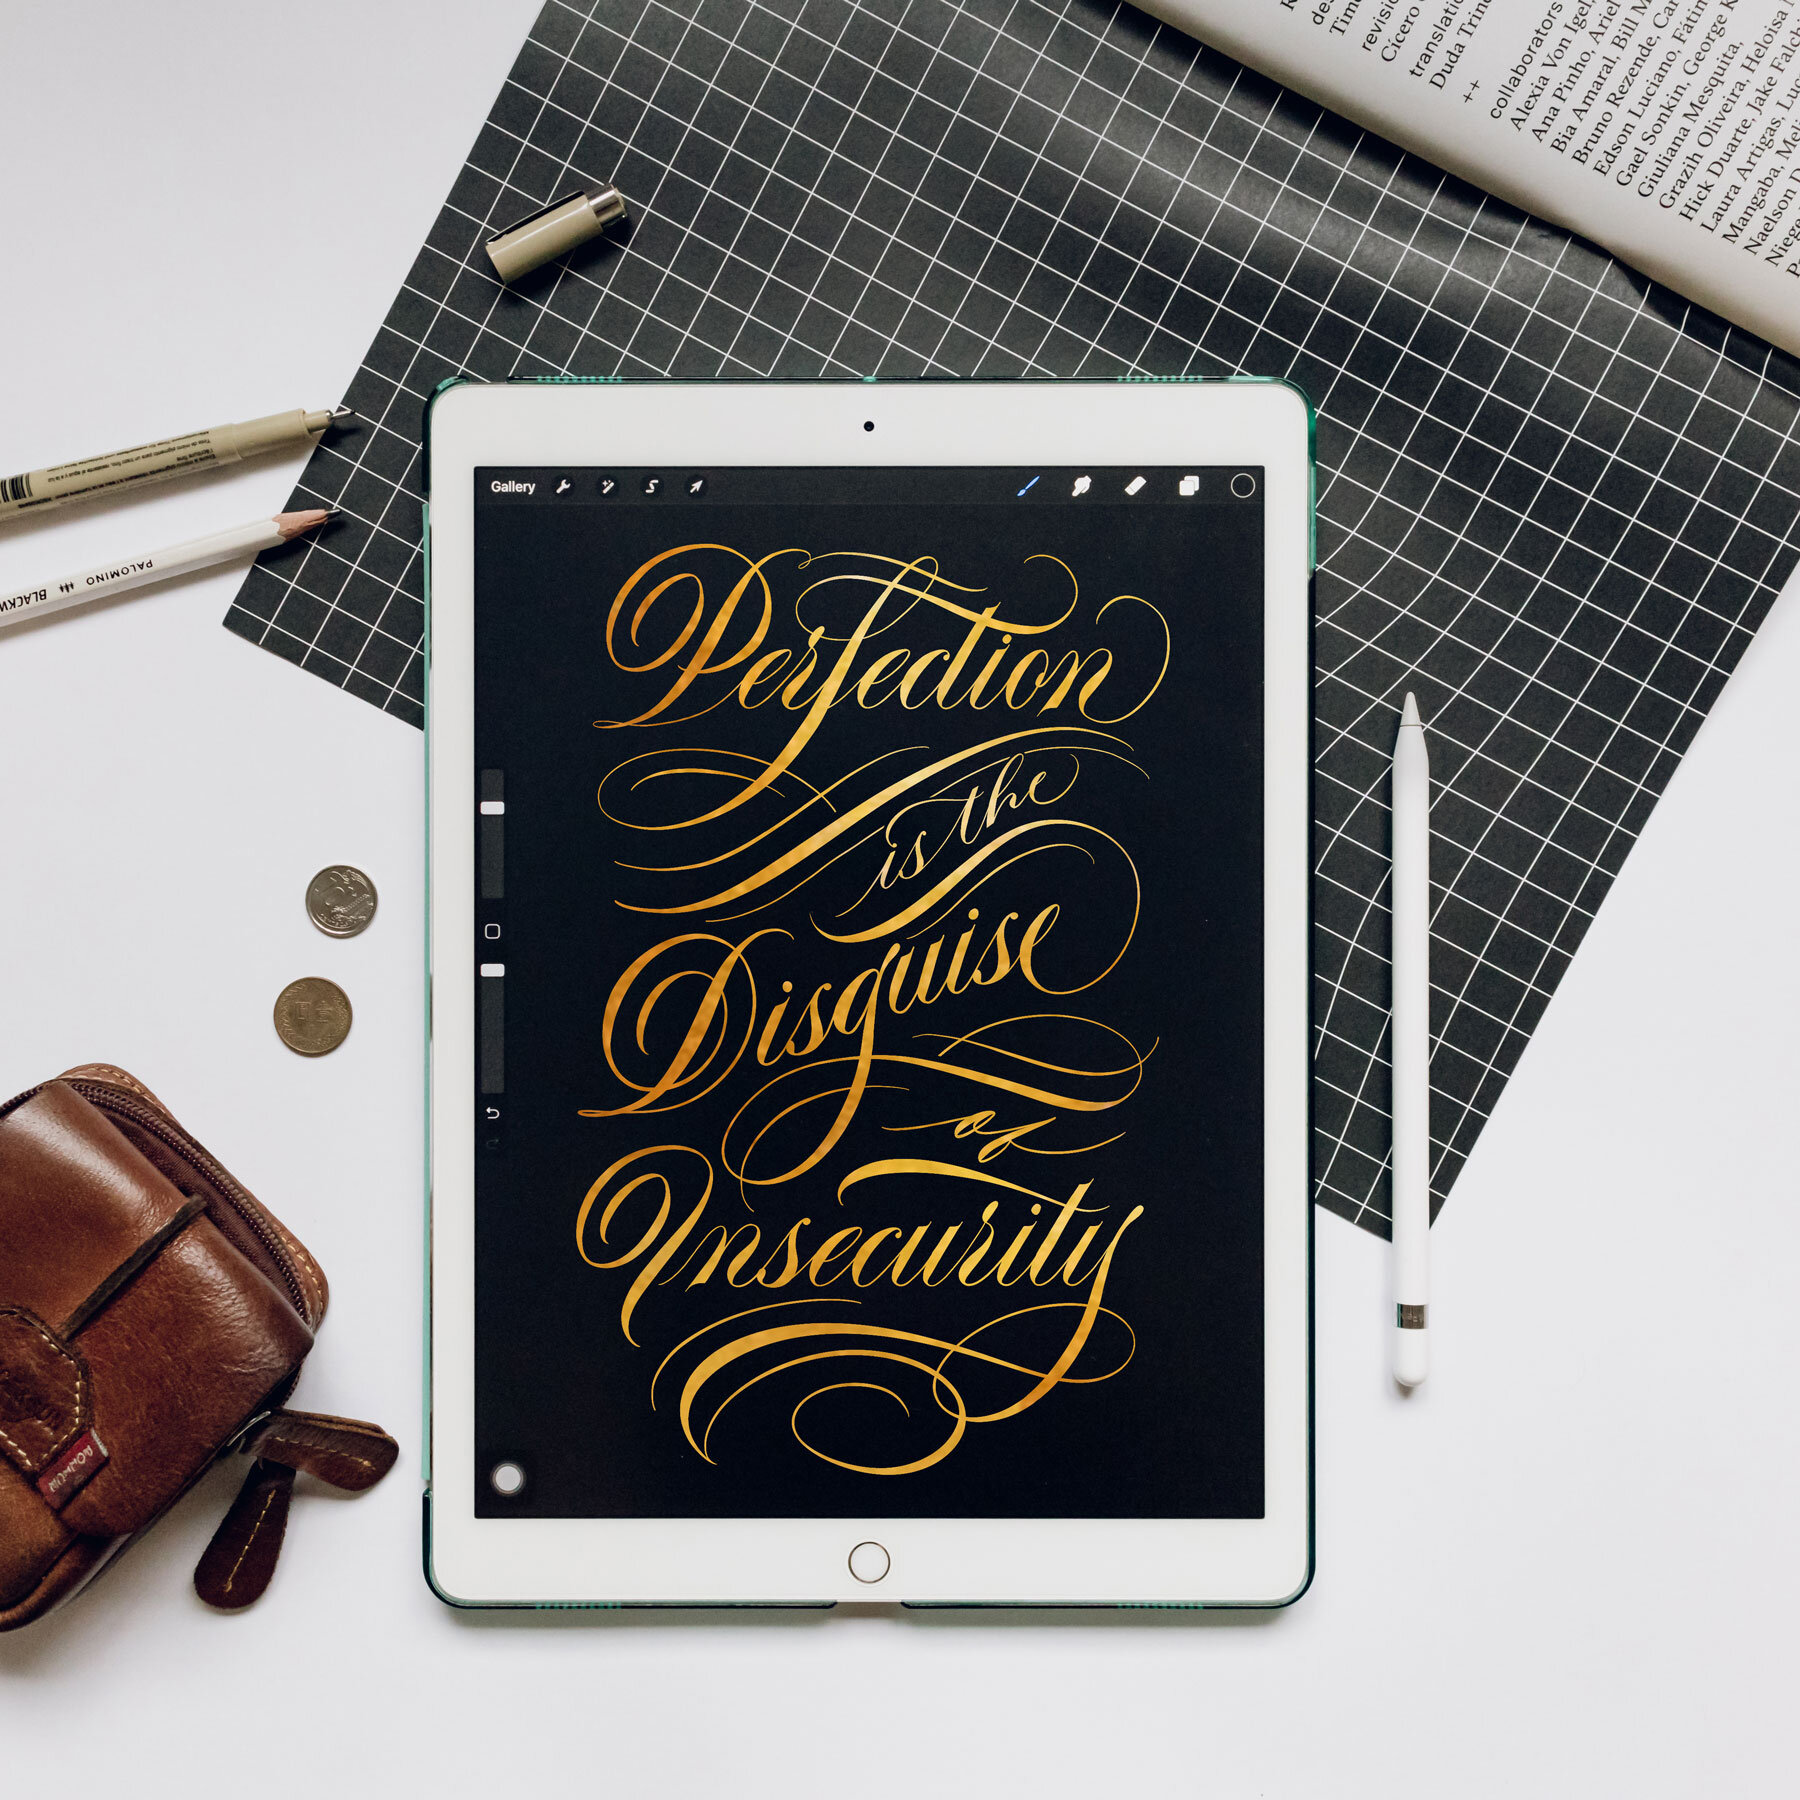
Well, this tool's probably the most expensive "brush" I've ever bought, but it's well worth it! I've done so many projects with this, not just for calligraphy but also lettering and illustration work.
It also streamlined my process and I feel more productive too!
Personally, I started out learning calligraphy first, then lettering, then illustration. At first, all my work's done pretty much analogue: pen to paper, straightforward and done by hand.
Somewhere in between, I picked up the Apple pencil and don't get me wrong - it's still done by hand. But now I no longer need to scan my paper sketches > digitise them via Photoshop & Illustrator. I can now draw directly on the iPad and skip the intermediary steps.
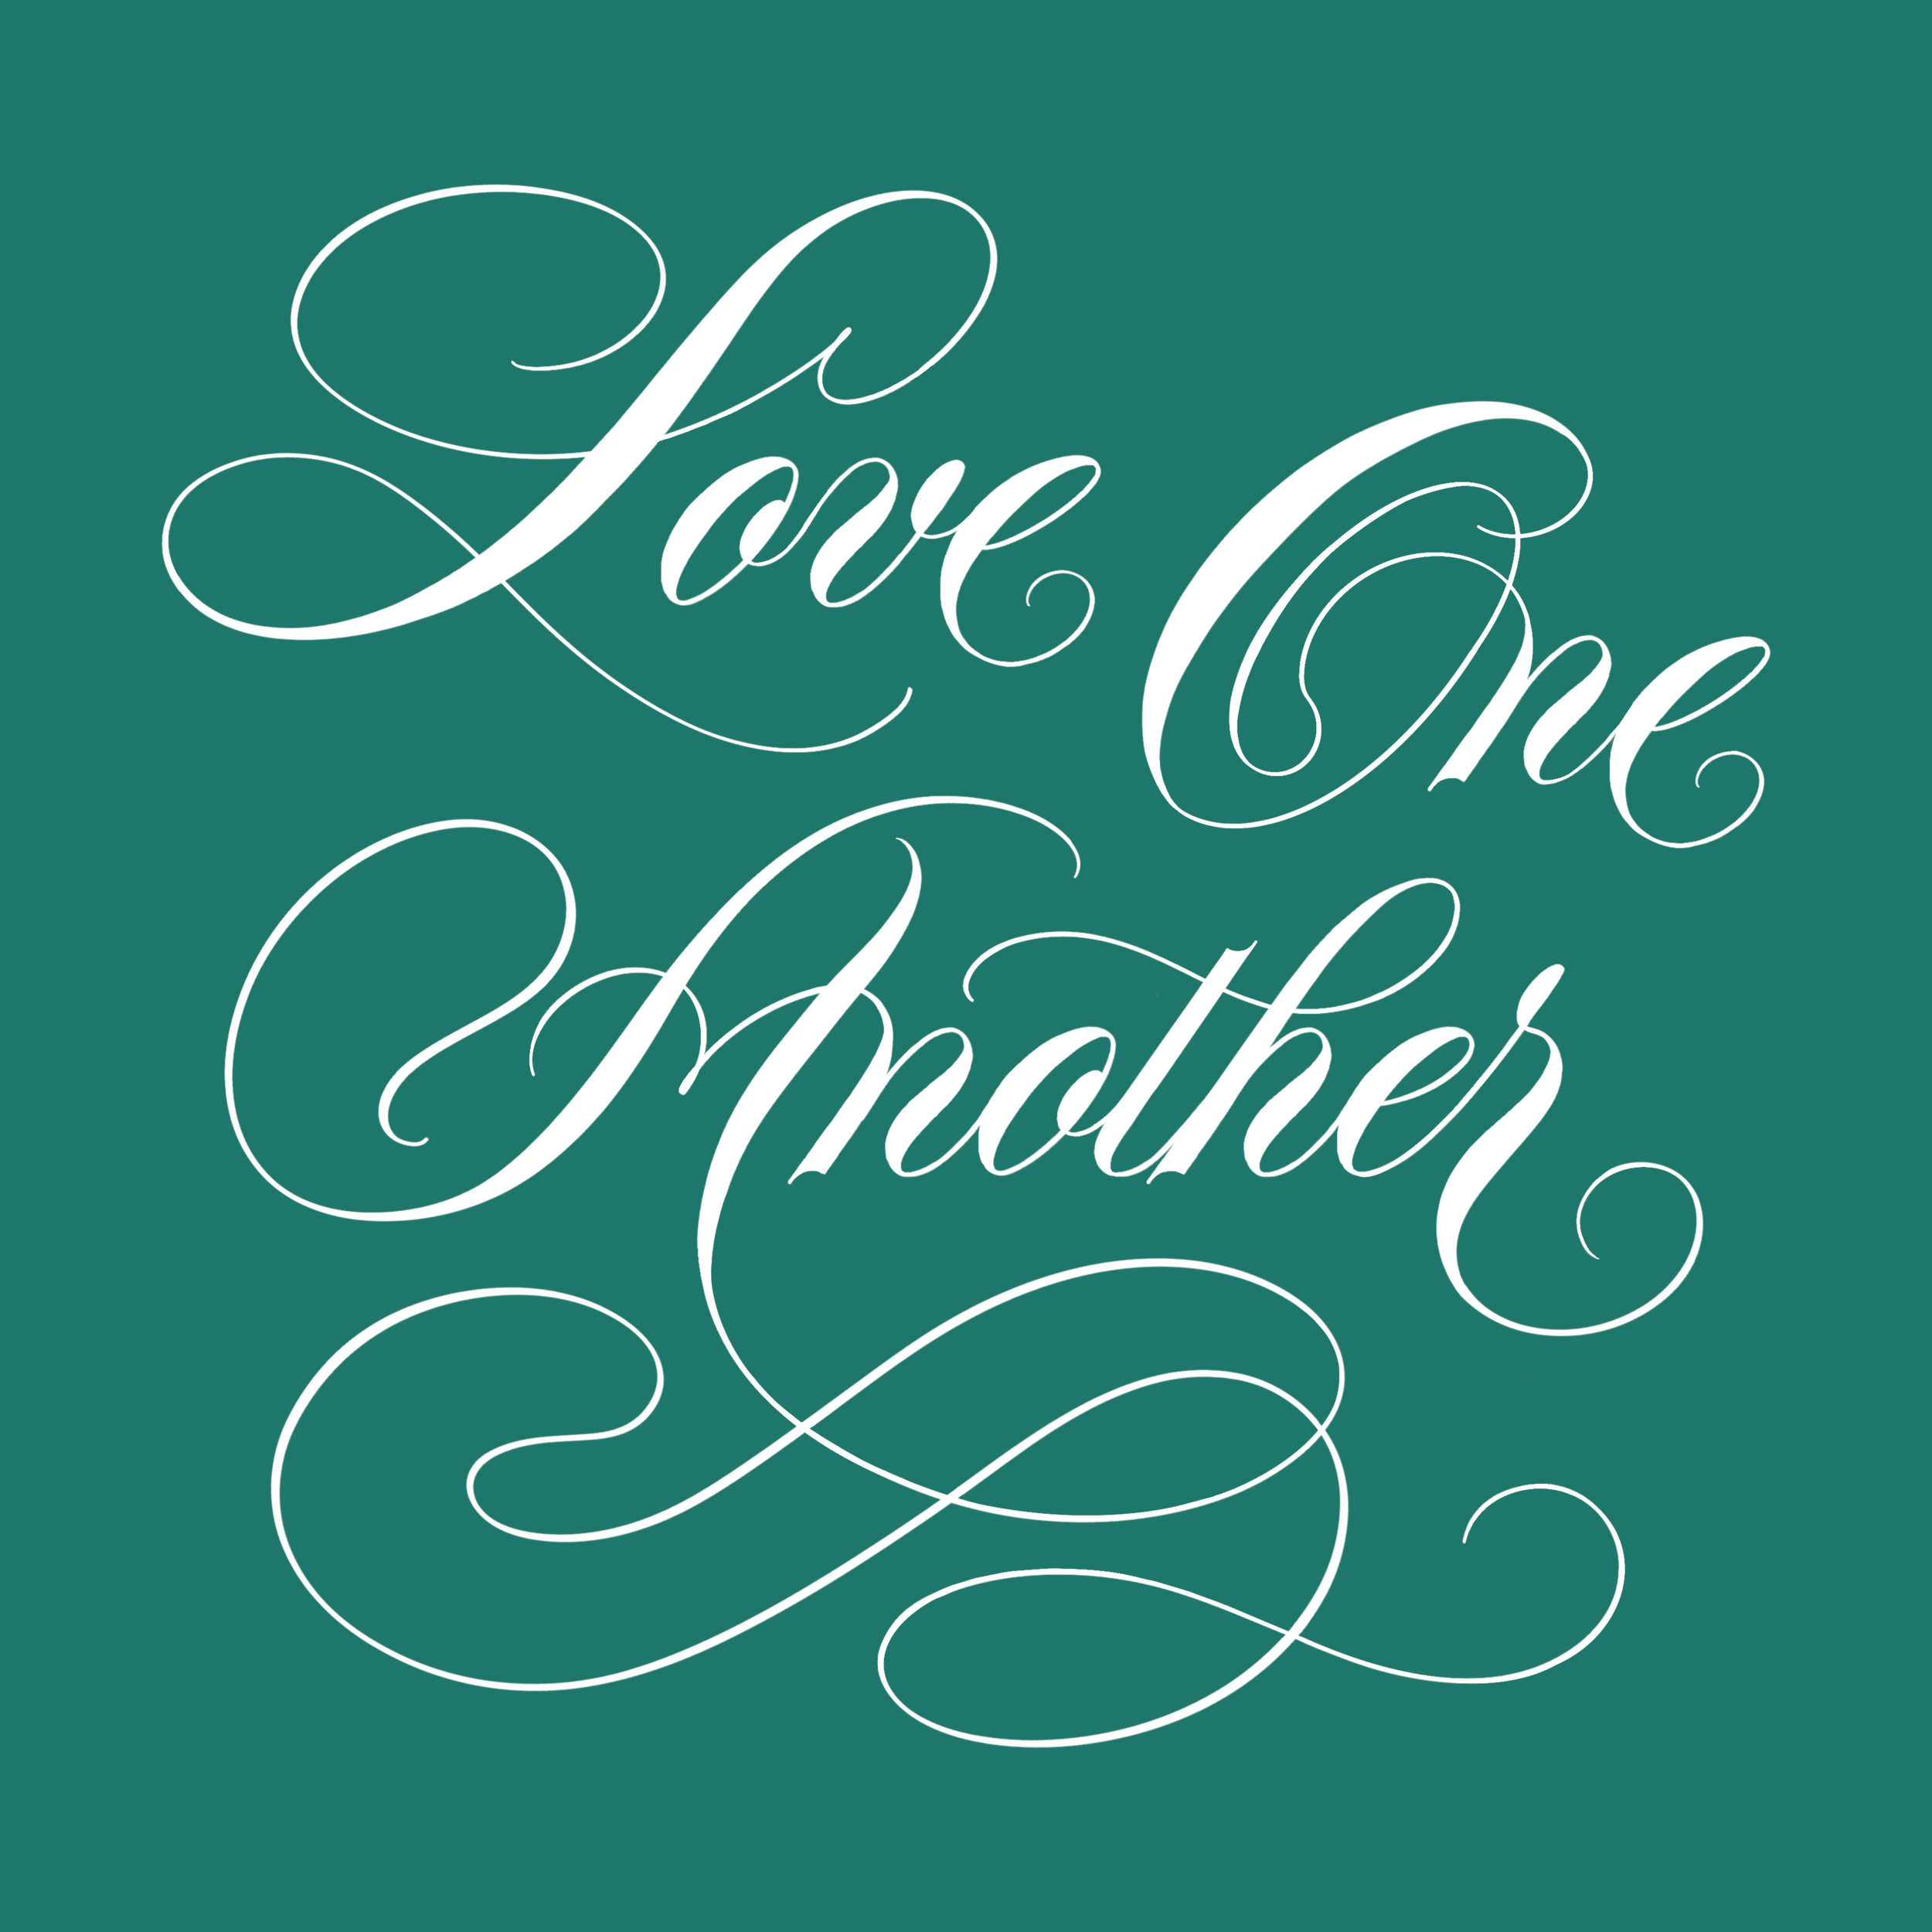
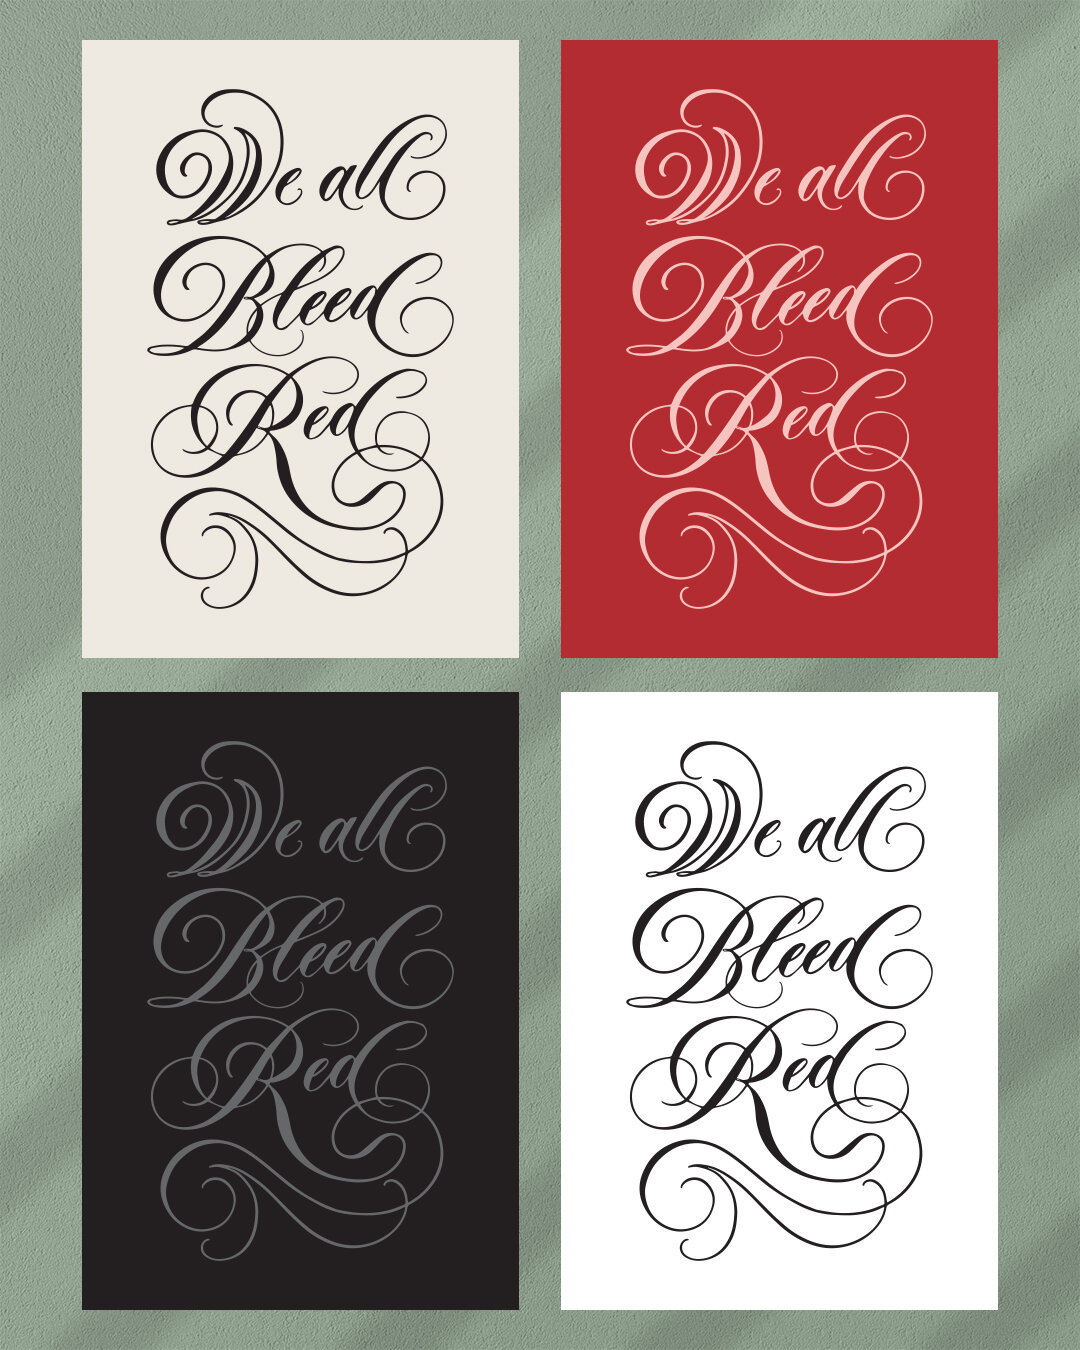
Here's some of the work I made on the iPad with the Apple pencil:
Case in point: calligraphy is a skill, but the applications are limitless! You can calligraph pen to paper like writing cards for friends or calligraphing your own wedding invites or even explore other avenues such as drawing letters digitally and even animating them. How fun, right?!
Let me know if this is helpful. Feel free to comment below if you've questions!
Pssst. Interested to learn more about calligraphy? Check out my online course: The Ultimate Calligraphy Course and watch a free preview lesson today!


